
There is something timeless about a Classic Cherry Cheesecake. It’s the kind of dessert that stops the show at every holiday dinner, birthday, or potluck. With its buttery graham cracker crust, a filling that’s as silky as velvet, and that iconic glossy cherry topping, it’s pure nostalgia in every bite.
Making a cheesecake can feel intimidating, but the secret lies in patience—specifically, room-temperature ingredients and a slow cooling process. This recipe skips the complicated fluff and focuses on a rich, tangy-sweet flavor that rivals the best New York diners. Once you master this base, you’ll never go back to store-bought again.

Why You’ll Love This Recipe
- Silky Smooth Texture: The addition of sour cream ensures a creamy, melt-in-your-mouth consistency.
- Foolproof Crust: A simple 3-ingredient graham cracker base that stays crisp and buttery.
- Perfect Make-Ahead: It actually tastes better after chilling overnight, making it stress-free for entertaining.
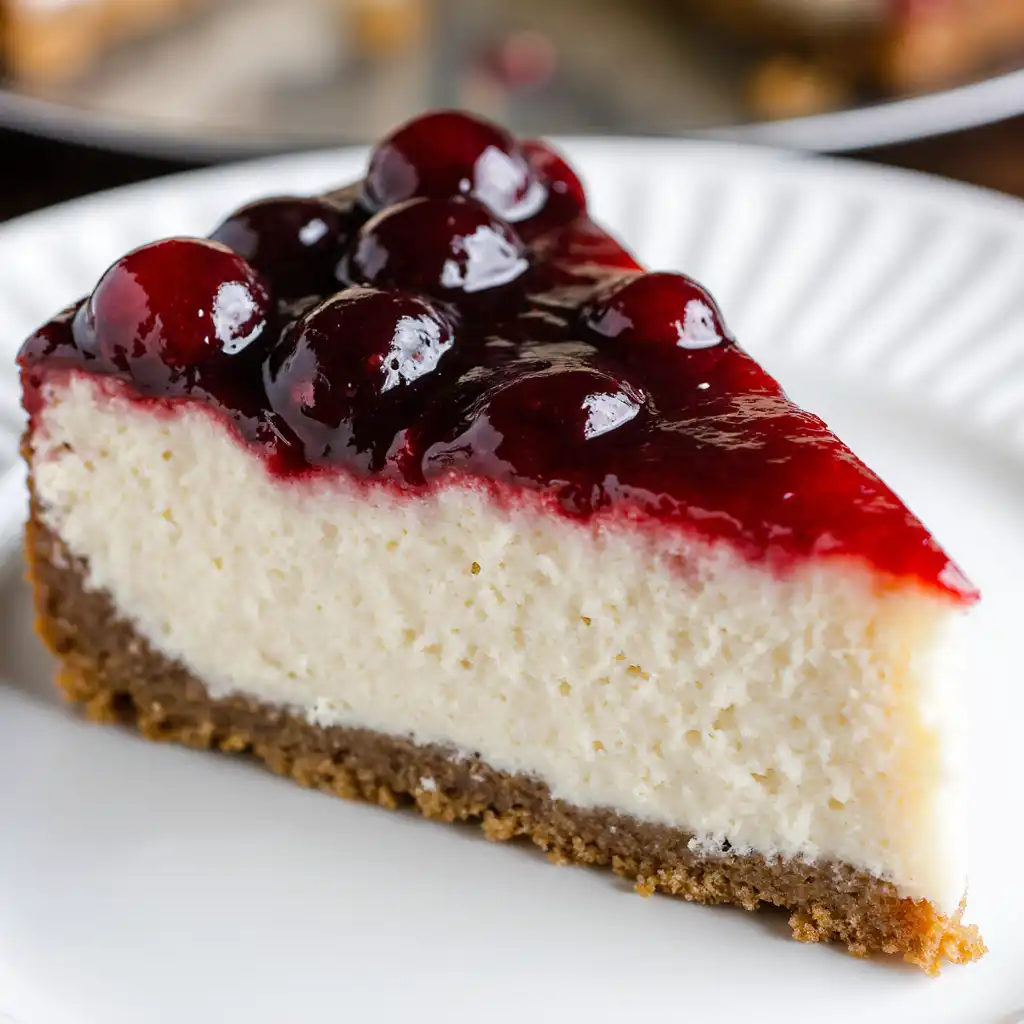
- Stunning Presentation: The vibrant red cherry topping against the white cheesecake is a classic beauty.
Recipe Card Info
- Prep Time: 30 minutes
- Cook Time: 1 hour 5 minutes
- Total Time: 1 hour 35 minutes (plus chilling)
- Servings: 12
- Difficulty: Intermediate
Ingredients
For the Graham Cracker Crust:
- 1 1/2 cups graham cracker crumbs
- 1/3 cup unsalted butter, melted
- 2 Tbsp granulated sugar
For the Cheesecake Filling:
- 24 oz (3 packages) cream cheese, softened to room temperature
- 3/4 cup granulated sugar
- 1/2 cup sour cream, room temperature
- 3 large eggs, room temperature
- 1 tsp pure vanilla extract
For the Topping:
- 1 can (21 oz) cherry pie filling
Instructions
- Prep: Preheat oven to 325°F. Lightly grease a 9-inch springform pan. Wrap the outside of the pan in heavy-duty foil (to protect against a water bath, if using).
- The Crust: Stir together crumbs, melted butter, and sugar. Press firmly into the bottom of the pan using the bottom of a measuring cup. Bake for 10 minutes. Remove and let cool while you lower the oven temp to 300°F.
- The Filling: In a large bowl, beat the softened cream cheese and sugar until completely smooth. Add the sour cream and vanilla, mixing on low speed. Add eggs one at a time, beating on low just until combined. Do not overmix.
- The Bake: Pour the filling over the crust. Place the pan inside a larger roasting pan and add 1 inch of hot water to the larger pan (the water bath). Bake at 300°F for 50–60 minutes. The edges should be set, but the center 2 inches should still jiggle slightly.
- The Slow Cool: Turn off the oven and crack the door open. Let the cheesecake sit inside for 30 minutes. This prevents cracking!
- Chill: Remove from the oven and run a knife around the edge to loosen. Cool to room temperature, then refrigerate for at least 4 hours (ideally overnight).
- Topping: Right before serving, spread the cherry pie filling over the top. Slice with a hot, clean knife for perfect wedges.
Chef’s Tips for Success
- Tip 1 (Room Temp Everything): This is non-negotiable. Cold cream cheese leads to lumps, and cold eggs can cause the batter to “break.” Let your ingredients sit out for at least 2 hours.
- Tip 2 (Low Speed Only): High speed incorporates air bubbles. Air bubbles rise in the oven and then pop, which is the #1 cause of those unsightly cracks on the surface.
- Tip 3 (The Clean Cut): For professional-looking slices, dip your knife in a tall glass of hot water and wipe it clean between every single cut.
Encouraging Conclusion
This Classic Cherry Cheesecake is a labor of love that pays off the moment you take that first creamy bite. It’s elegant, delicious, and deeply satisfying to make from scratch.