
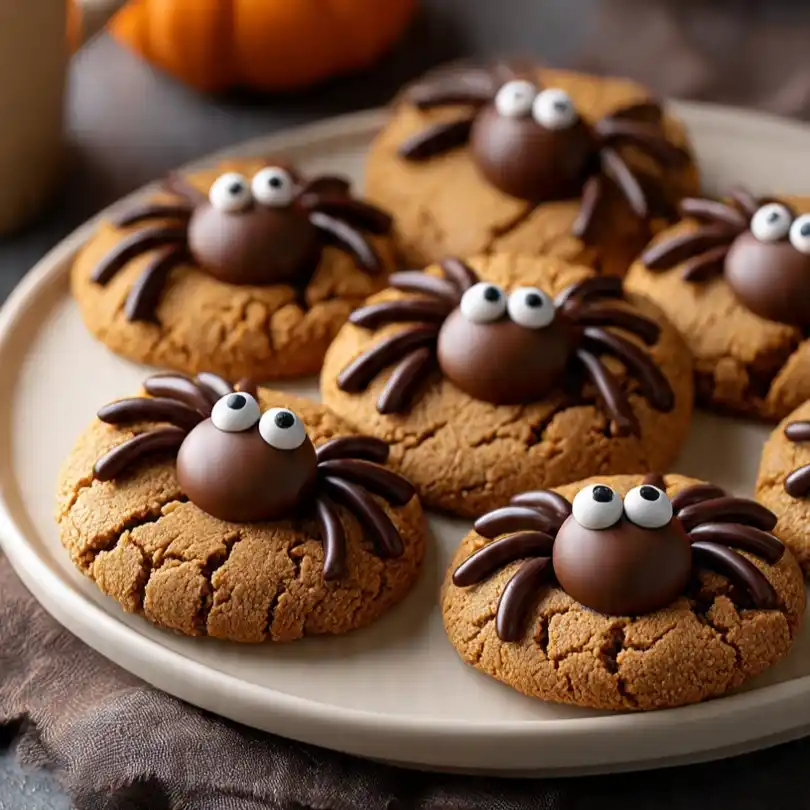
If you are looking for a Halloween dessert that is equal parts adorable and delicious, these Peanut Butter Spider Cookies are the undisputed champions. Combining the nostalgic flavor of a classic peanut butter blossom with a whimsical, creepy-crawler twist, these cookies are a hit at school parties, haunted house gatherings, and family bake-offs. Featuring a soft, melt-in-your-mouth cookie base and a chocolate truffle “body,” they prove that even spiders can be sweet!
Why This Recipe Works
- The Perfect Base: We use a traditional peanut butter cookie recipe that is rolled in sugar to give it a slightly crunchy exterior and a soft, chewy heart.
- Truffle Architecture: Instead of a flat chocolate kiss, we use round chocolate truffles (like Lindor or similar brands) to give the spiders a more realistic, “plump” 3D body.
- The “Dip and Stick” Method: By pressing the chocolate into the cookie while it’s still warm, the bottom melts slightly, acting as a natural edible glue.
- Textural Contrast: The combination of salty peanut butter, crunchy sugar, and smooth, creamy chocolate provides a satisfying bite every time.
Recipe Details
- Prep Time: 25 Minutes
- Cook Time: 10–12 Minutes
- Total Time: 45 Minutes
- Yield: 24 Cookies
- Difficulty: Easy
Ingredients
- For the Peanut Butter Cookies:
- ½ cup Unsalted Butter, softened
- ½ cup Creamy Peanut Butter
- ½ cup Granulated Sugar (plus extra for rolling)
- ½ cup Light Brown Sugar, packed
- 1 Large Egg
- 1 tsp Vanilla Extract
- 1 ½ cups All-Purpose Flour
- 1 tsp Baking Soda
- ½ tsp Salt
- For the “Spider” Decor:
- 24 Round Chocolate Truffles (chilled)
- ½ cup Semi-Sweet Chocolate Chips (melted, for the legs)
- 48 Small Candy Eyes
- A small amount of white frosting (if the eyes aren’t self-adhesive)
Instructions
- Bake the Cookies: Preheat oven to 350°F (175°C). Cream butter, peanut butter, and both sugars. Add the egg and vanilla. Mix in dry ingredients. Roll into 1-inch balls, roll in sugar, and bake for 10–12 minutes.
- The “Nest”: Immediately after removing the cookies from the oven, use a small measuring spoon or your thumb to make a deep indentation in the center of each cookie. Let the cookies cool for about 5 minutes. (If the cookies are too hot, the truffles will melt into a puddle).
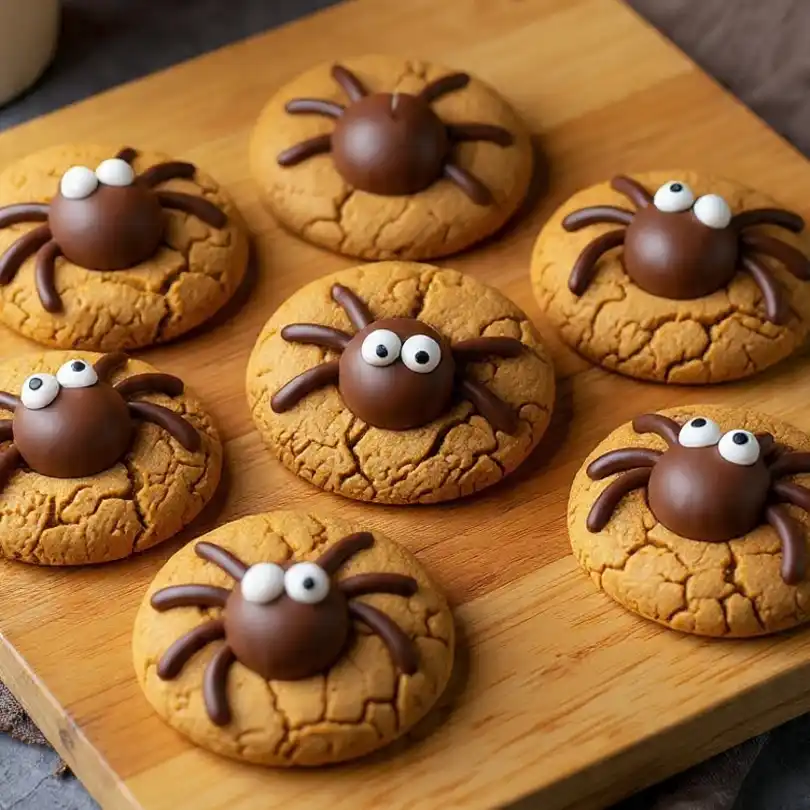
- Attach the Body: Press a chilled chocolate truffle into the indentation of each cookie.
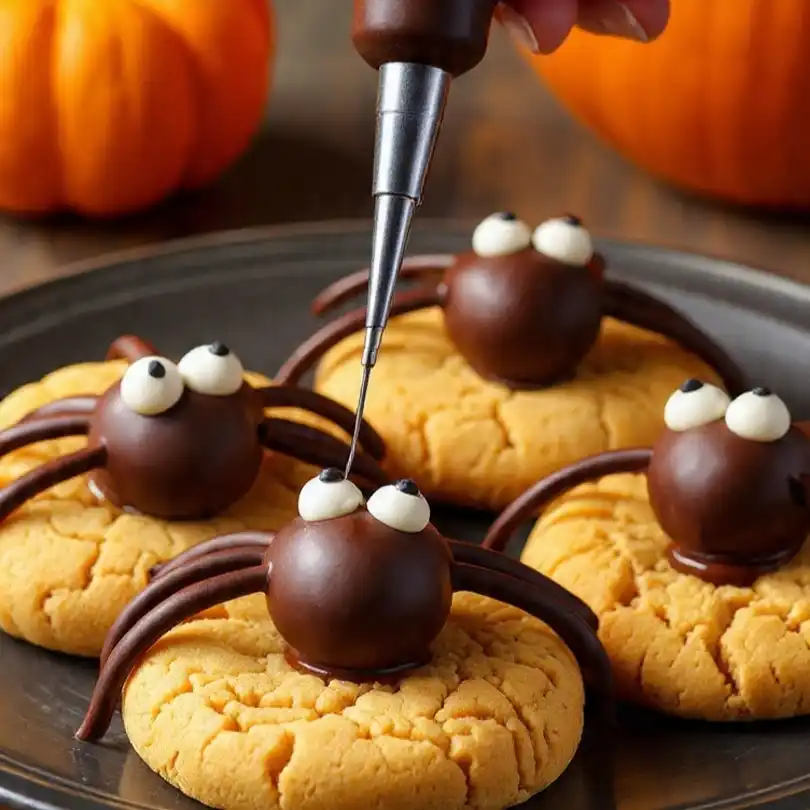
- The Legs: Melt the chocolate chips and place them in a small piping bag or a Ziploc bag with the corner snipped. Pipe four “L-shaped” legs on each side of the truffle, starting from the base of the chocolate and extending onto the cookie.
- The Eyes: Use a tiny dot of melted chocolate to attach two candy eyes to the front of each chocolate truffle.
- Set: Allow the cookies to sit until the chocolate legs and the base of the truffle have completely hardened.
Conclusion
These Peanut Butter Spider Cookies are a masterclass in festive baking. They require no advanced decorating skills but offer a high-impact visual that everyone loves. Whether you make them for a party or as a fun weekend activity with the kids, these little spiders are guaranteed to crawl off the plate in record time!
(FAQ)
Q: My chocolate truffles melted! What happened?
A: This is the most common mistake! You must let the cookies cool for at least 5 minutes before adding the truffles. If the cookie is straight out of the oven, the residual heat will melt the truffle completely. Chilling the truffles beforehand also helps!
Q: Can I use crunchy peanut butter?
A: Yes, but creamy peanut butter provides a smoother dough that is easier to roll and less likely to crack when you make the center indentation.
Q: How do I store these?
A: Store in a cool, dry place in an airtight container. Avoid stacking them, or you might break the delicate chocolate legs! If your house is warm, keep them in the fridge.